How To Export A GarageBand Song As MP3
Jan 26, 2022
If you're looking to learn how to export a GarageBand song as MP3 so you can share it with your friends and family then this post is for you. If you've ended up here but you're actually using Logic Pro instead then you might be better off with learning how to export a song in Logic Pro.
Let's get going!
By the way, if you prefer to watch a video on how to export your song as MP3 then you can watch this video tutorial below:
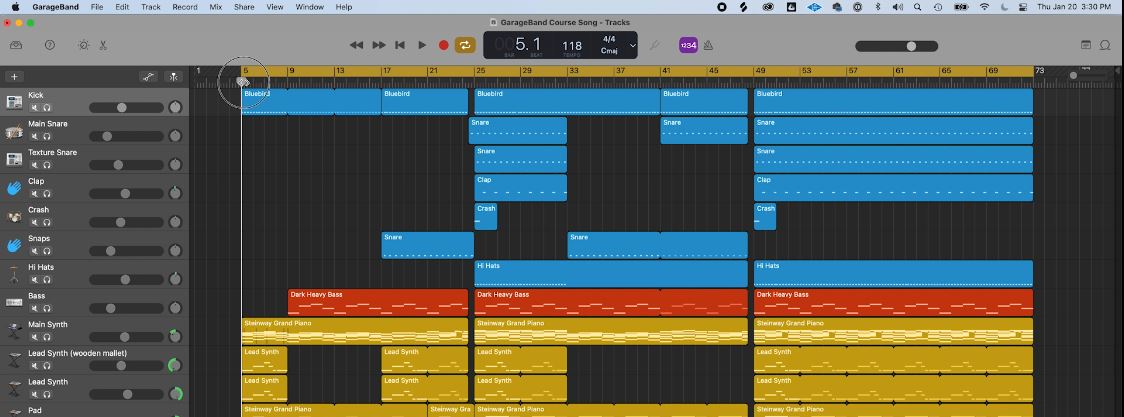
Before we export our song, it's important that we have everything in order and arranged inside GarageBand. I'm specifically talking about your mix and master.
We want to make sure that our song is "loud enough" before we export. That wouldn't be great if we shared our MP3 to our friends and family and no one could hear it!
GarageBand does this automatically with a process called "normalization". We'll talk about this in a little bit.
If you have already arranged everything in GarageBand. For example, your mix is ready and you've mastered it then let's export as MP3.
To do the export itself, all you need to do is go to the top, click on:
Share > Export Song to Disk
To make following steps easier, I recommend adding a cycle range. The cycle range is the yellow bar at the top. You can achieve this by clicking on dragging on the bar to where you want your song to start and end.
After clicking on Export to Disk, a pop-up will appear. From here, you can choose the destination and format of the file.
There are four export options:
- AAC
- MP3
- AIFF
- WAVE
Apple has AAC and AIFF as proprietary formats. However, they aren’t commonly used by the music producing community as of the moment or even in the near future.
Wave is a bigger file format which is ideal if you are releasing the song on Youtube, Spotify, or Soundcloud. It is a higher sound quality for your song and most of these streaming services will require a .wav format.
MP3, on the other hand, is a more compressed smaller file. Sometimes exporting to MP3 might change the sound quality but it would be very subtle.
If you would only be sharing your song as a demo and sending it to friends or labels then exporting to an MP3 file would be completely fine. It would be much easier to send the file via an email as well since the file size is much smaller.
Typically MP3 files ranges anywhere from 5mb to 9mb where as a WAVE file might be anywhere from 20mb to 30mb.
If you're looking to only export the song in GarageBand to MP3 then click on the radio button with the MP3 label. Showcased in the image above.
Furthermore, you can click on the dropdown and choose your desired quality.
I personally would recommend High Quality but whichever one would work depending on your situation.
Lastly, do click on the checkbox Export Cycle Area so that only the part of the region with the yellow bar (which is the desired length of the song) would be exported. If you don't click on that checkbox, the whole session including any negative space would be exported.
Once everything is in place already, you can click on the export button.
This method of exporting as song requires that you have already mastered your song in GarageBand. If you're unsure what mastering is then I recommend checking out this video on how to master a song in GarageBand.
Mastering is the final stage of the music production process before you publish your song. It is also an essential step that makes sure your song is "loud enough". GarageBand has a simple "mastering" process normalization.
What Is Normalization?
Normalization will make your song louder.
Think of it like turning up the volume on the entire track. This is great if you have not mastered your song yet and just looking for a quick and easy way to get the volume up so you can share your MP3.
If you're looking to find out how to auto normalize your song then keep reading.
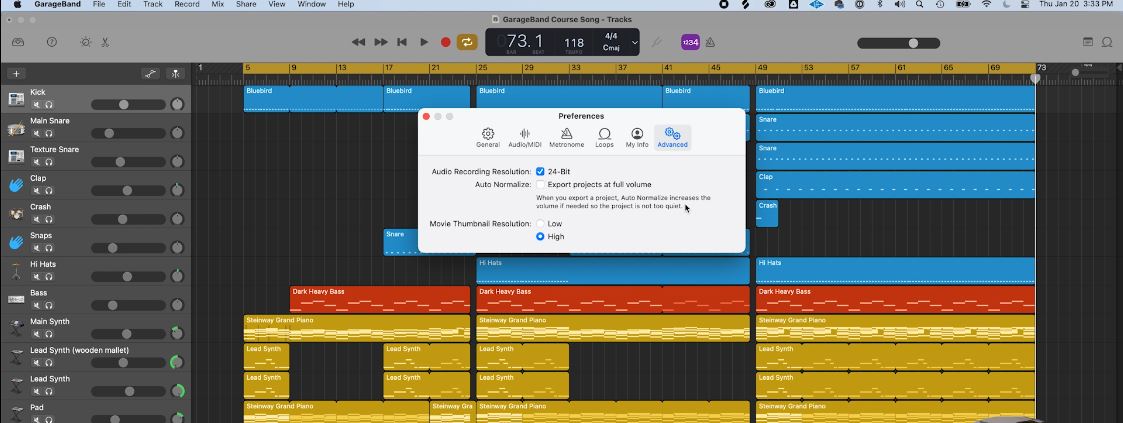
Click command + comma, and this will open up your GarageBand settings.
Head over to the Advanced tab and you will see a checkbox for Auto Normalize.
This will export the project in full volume just in case the song is too quiet. This is just a shortcut that is only ideal if you are releasing the project as a rough copy. If you want to export the project as a finished product then I highly recommend mastering your song and then exporting as WAVE.
Here is a great post on how to master in Logic Pro that has many transferrable lessons for GarageBand too.
If you'd like to learn more about making music in GarageBand then I recommend checking out my 5 Steps on Learning GarageBand Faster.


