GarageBand Recording Equipment | Essential Gear For Beginners
May 05, 2023
Whether you’re a newbie to the world of music production or an experienced producer, having the right equipment is a vital step toward creating high-quality music. GarageBand is one of the best free music software you could use on a Mac computer, but software isn’t everything.
When it comes to recording audio, there is some specific equipment that you need in order to capture high-quality tracks. Whether you’re working on a cover song or making a beat in GarageBand, these tools can come in very handy.
From microphones and audio interfaces to monitors, I will go through every essential piece of gear you need to get you going with your creative endeavours in GarageBand.
Before we dive in, I want to be clear that, yes, equipment is important, just as GarageBand is. However, what is more important is your understanding of how to create great songs. The best songs in the world never came from the gear or equipment, they come from the creativity behind the artists who wrote them. On top of that, they could have never been recorded with the gear I'm going to show you now. Your equipment you use with GarageBand are only tools to get to your desired end - a great song.
By the way, all the tools that I mention in this post will work right away in GarageBand but you can still use them if you decide to level up by learning Logic Pro.
1. Getting The Right Microphone
Arguably the most critical gear in a studio is the microphone. But the tough question is, what mic do you get? There's so many options that it's difficult to know. Getting the right microphone depends on your budget, intent, and preference.
In general, you can get these two types of microphones on the market:
-
USB microphones
-
XLR microphones
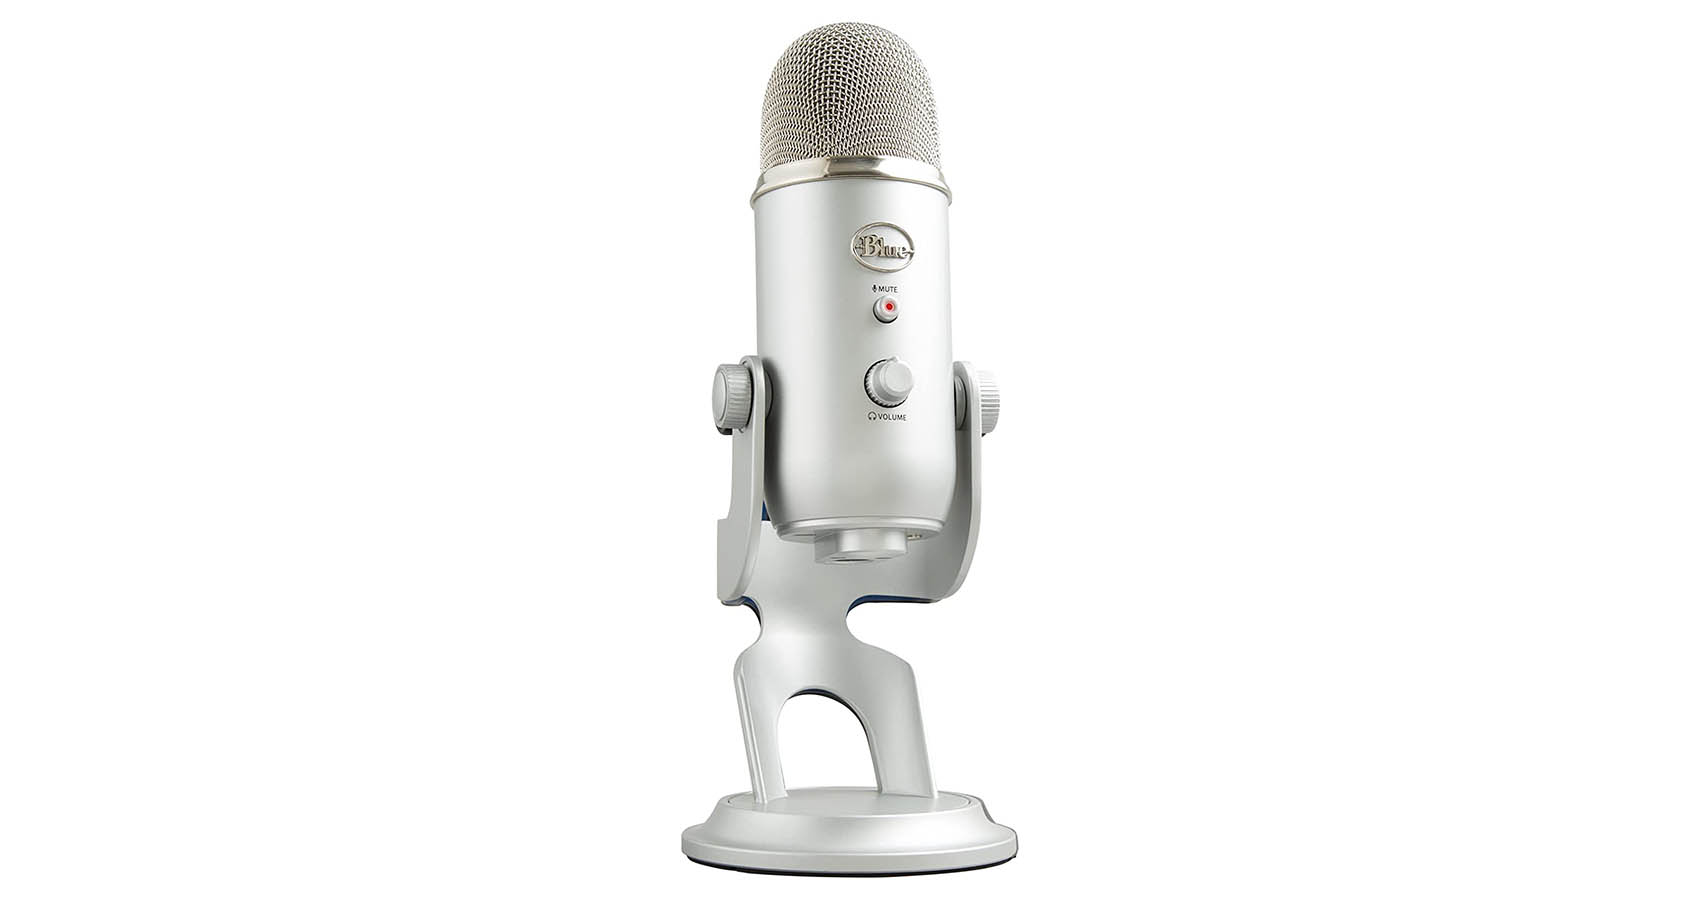
Blue Yeti USB Microphone
USB microphones are more straightforward to use; you plug them into your computer via a USB cable, install some drivers, and they should be ready to go.
The Blue Yeti is one of the most popular USB microphones on the market and you might be familiar with it already since a lot of YouTuber and young music producers have them. This mic is known for its versatility, making it one of the go-to options for content creators, musicians, and podcasters.
Moreover, the Blue Yeti features a built-in headphone jack and volume control to make monitoring audio even easier when recording. You can find one on Amazon for around $120.
If you're unsure what monitoring means, let me tell you. Monitoring allows you to hear your voice through your microphone and back into your headphones. Allowing you to 'monitor' your sound.
Although USB mics can offer decent quality, if you want to make your vocals sound professional, using an XLR microphone is a no-brainer. For instance, I don't use a USB microphone in my home studio. I don't have any actually. However, I understand the flexibility in price might make it attractive to beginners. It's still a good option and will get you good quality.
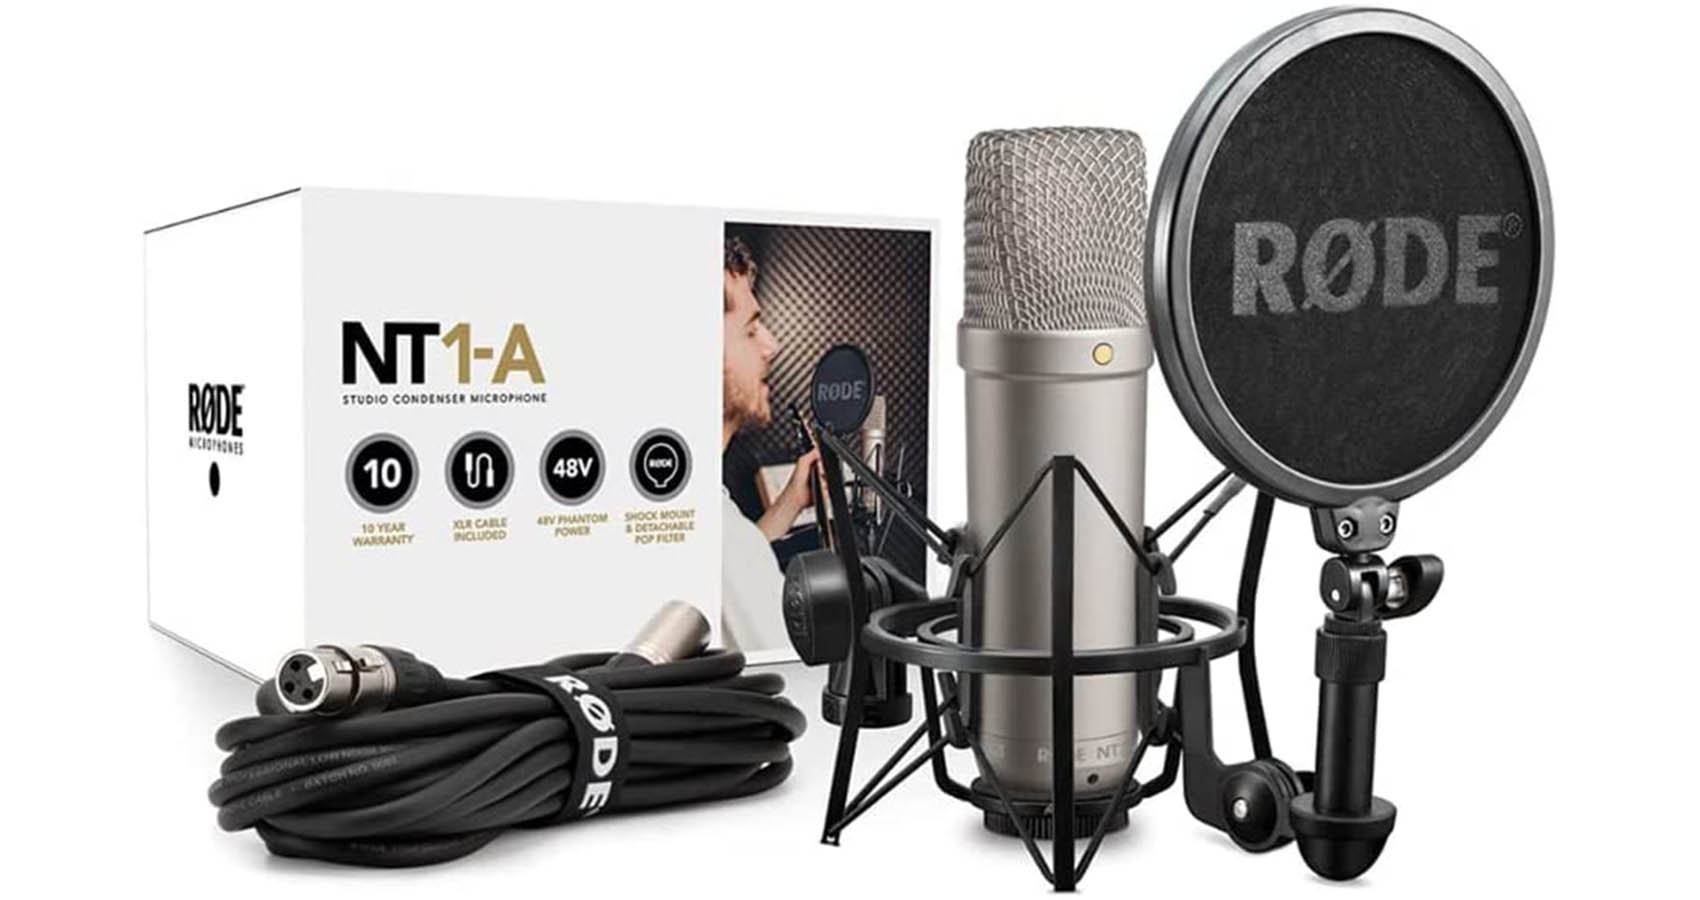
Rode NT1-A Microphone
The Rode NT1-A is one of the best microphone options on the market. It was my first mic and I still use it in my home studio today. The price is still very reasonable for the quality you're getting. Coming at just under $200, the NT1-A offers a lot of bang for the buck as a multi-purpose microphone.
One of the reasons I love recording vocals with this mic is its low self-noise and crispy top end. Other than that, the NT1-A comes with extra goodies, including a 20-foot XLR cable and a shock mount, making it an excellent choice for starters. In another post, I did a deep dive on all the positive and negatives of the Rode NT1-A.
Bear in mind that you can’t connect an XLR mic to your computer directly. For that, you’d need an audio interface. Let's get audio interfaces and what one you should consider purchasing, next.
Best Audio Interfaces For GarageBand Users
If you’ve decided to go with an XLR microphone, like the Rode NT1-A or want to record your electric guitar directly, you’d need an audio interface.
In simpler terms, an Audio interface takes analog audio wave signals from microphones and instruments and converts them into a digital format that your computer can process. Another task an audio interface takes care of is amplifying sounds from your microphone. You can think of the audio interface as the 'middle man' between your microphone and the computer.
Choosing the proper audio interface depends on various things.
First, if you’re not a seasoned music producer, there’s no need to go overboard with an expensive model. Most audio interfaces around $100 to $300 can get you the results you’re looking for. For example, when I first started producing music, I purchased the cheapest interface I could get. After a while, I got better and started to understand the value of a good audio interface. Now, I used a $2000 audio interface.
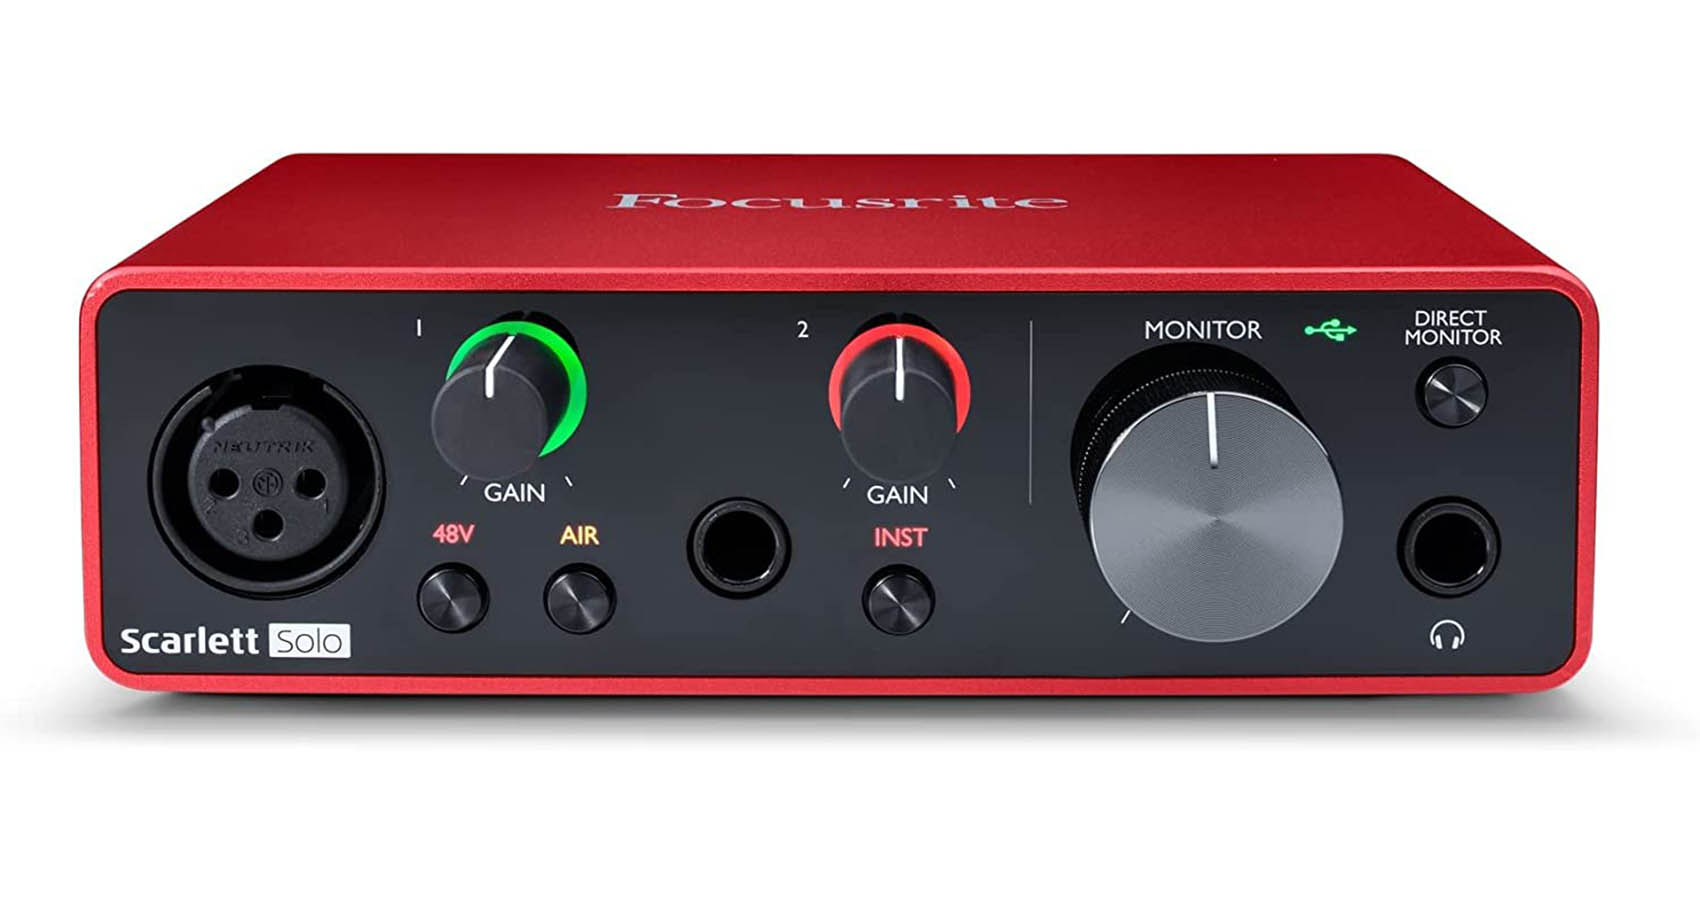
Let's talk channels for a minute. The number of audio channels is one key factor for deciding the right audio interface. Some models, like the Scarlett Focusrite Solo, offer one XLR and one instrument channel, which should suffice for most beginner producers.
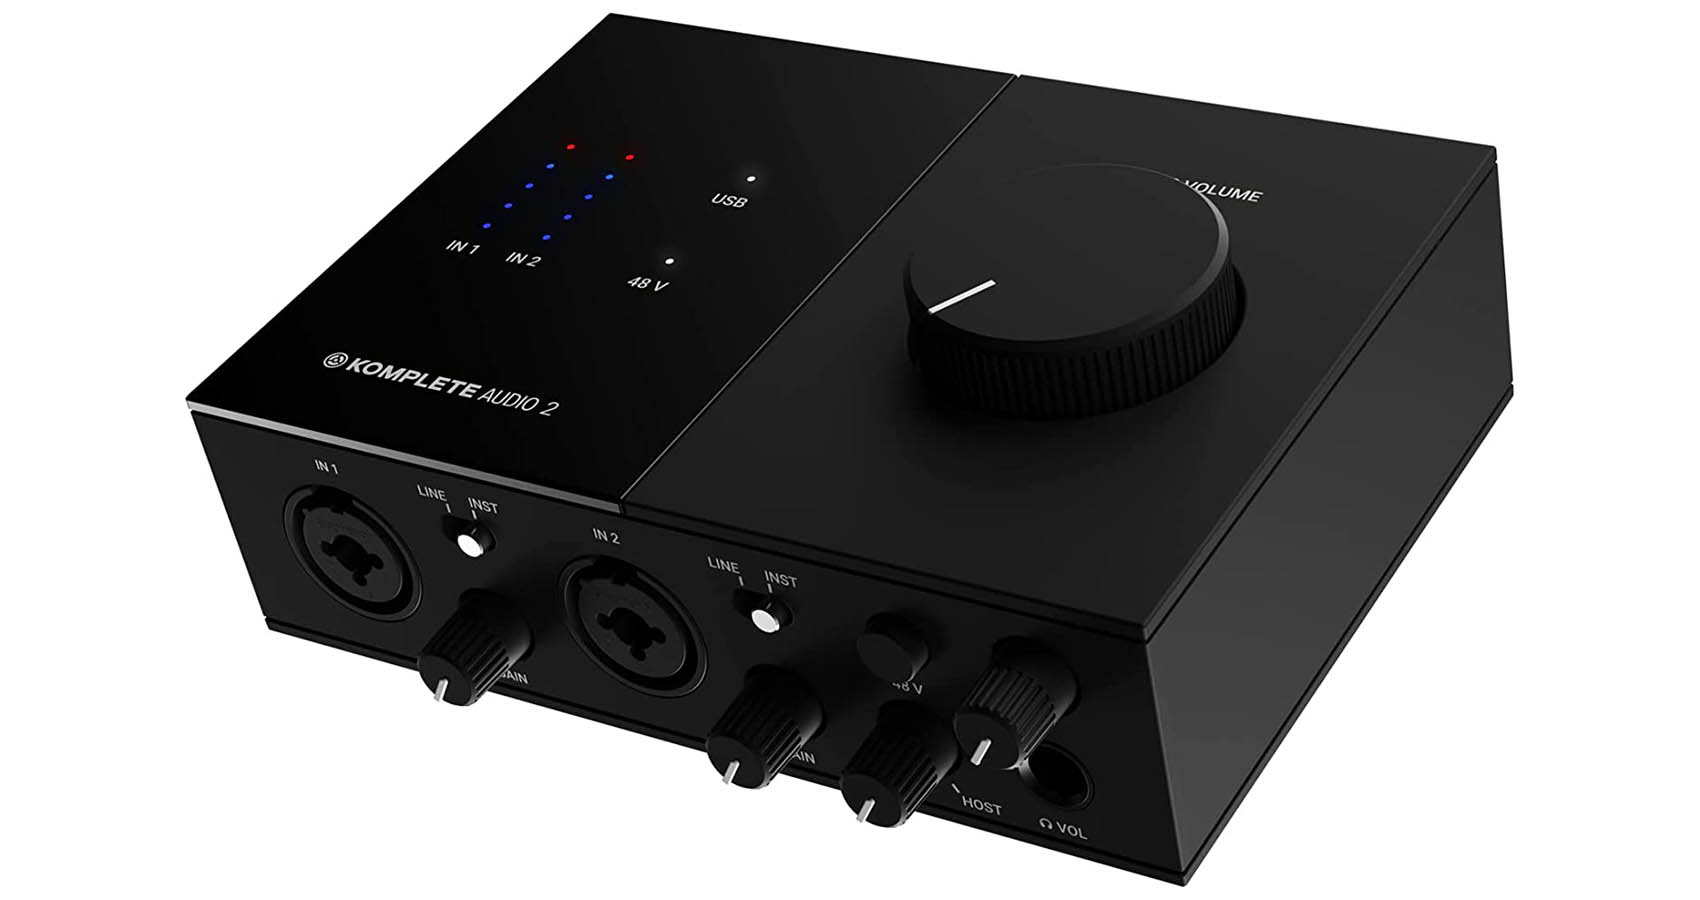
However, you can easily find other affordable audio interfaces that come with one or two extra inputs. For example, the Komplete Audio 2 by Native Instruments is an excellent option for starters that comes with two XLR inputs which can be used as guitar inputs, too.
How do you know how many channels you need for your productions in GarageBand?
Ask yourself, what do you need to record in GarageBand? Vocals? Guitar? Violin? Whatever it is, write a list down on paper of what you need to record. For myself, I only wanted to record my voice (vocals) and my electric guitar. I also was interested in learning to record my acoustic guitar with a mic too. So, 3 things.
The next question is, do you want to record these things at the same time? For myself, no. I only was going to record one thing at a time. For example, record some guitar. Then record some vocals. If you're in the same space, you only need 1 channel. As soon as your answer changes to, "I want to record multiple instruments at the same time". This is when you need more than 1 channel. Having more than 1 channel also gives you the flexibility to have all your instruments plugged in and ready to go at the touch of the 'record' button.
Don't over think to much at the beginning, if you're new to GarageBand, my assumption is a one channel interface like the Scarlett Focusrite Solo will do just fine.
If you need more information, check out my post about the best budget-friendly audio interfaces on the market.
Headphones
Another essential tool you need for recording in GarageBand is a pair of headphones. We also call them 'monitoring headphones'. That's important to know because monitoring headphones are different than regular headphones. For instance, a Bose pair of headphones are for listening to music. They sound great! However, a pair of monitoring headphones are made to have a flat response which means that are note manipulating the sound at all.
The key factors when looking for a pair of monitoring headphones to use with GarageBand are, a natural sound character, comfort, and build quality.
You’ll be using these headphones to monitor what you’re recording and, later on, when mixing and mastering your songs. Did you know I teach a course on mixing and mastering in GarageBand?
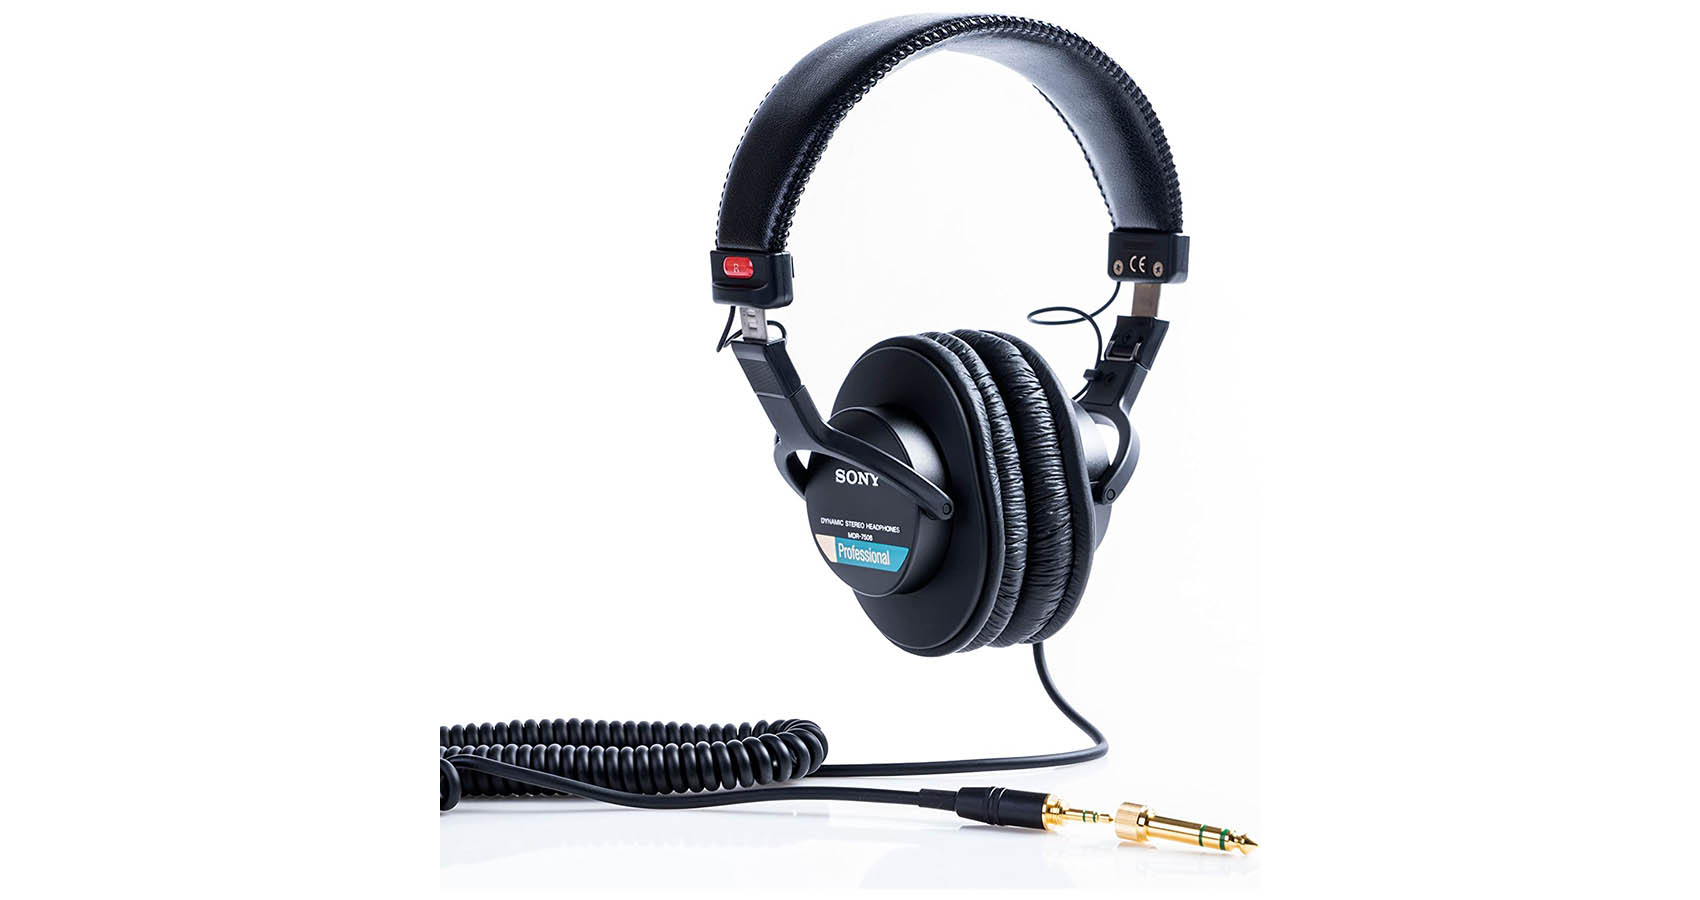
Among the available options on the market, Sony MDR-7506 headphones are known for their good sound quality, durability, and affordable price tag.
These headphones have a reasonably flat frequency response, making them great for mixing audio. You can read more about Sony MDR-7506 in my comprehensive review.
Starter Pack Bundles
If you’re unsure about equipment to buy to start making music in GarageBand, you can look at starter bundles that offer microphones, audio interfaces, and headphones all in one package. A perfect all in one solution for beginners.
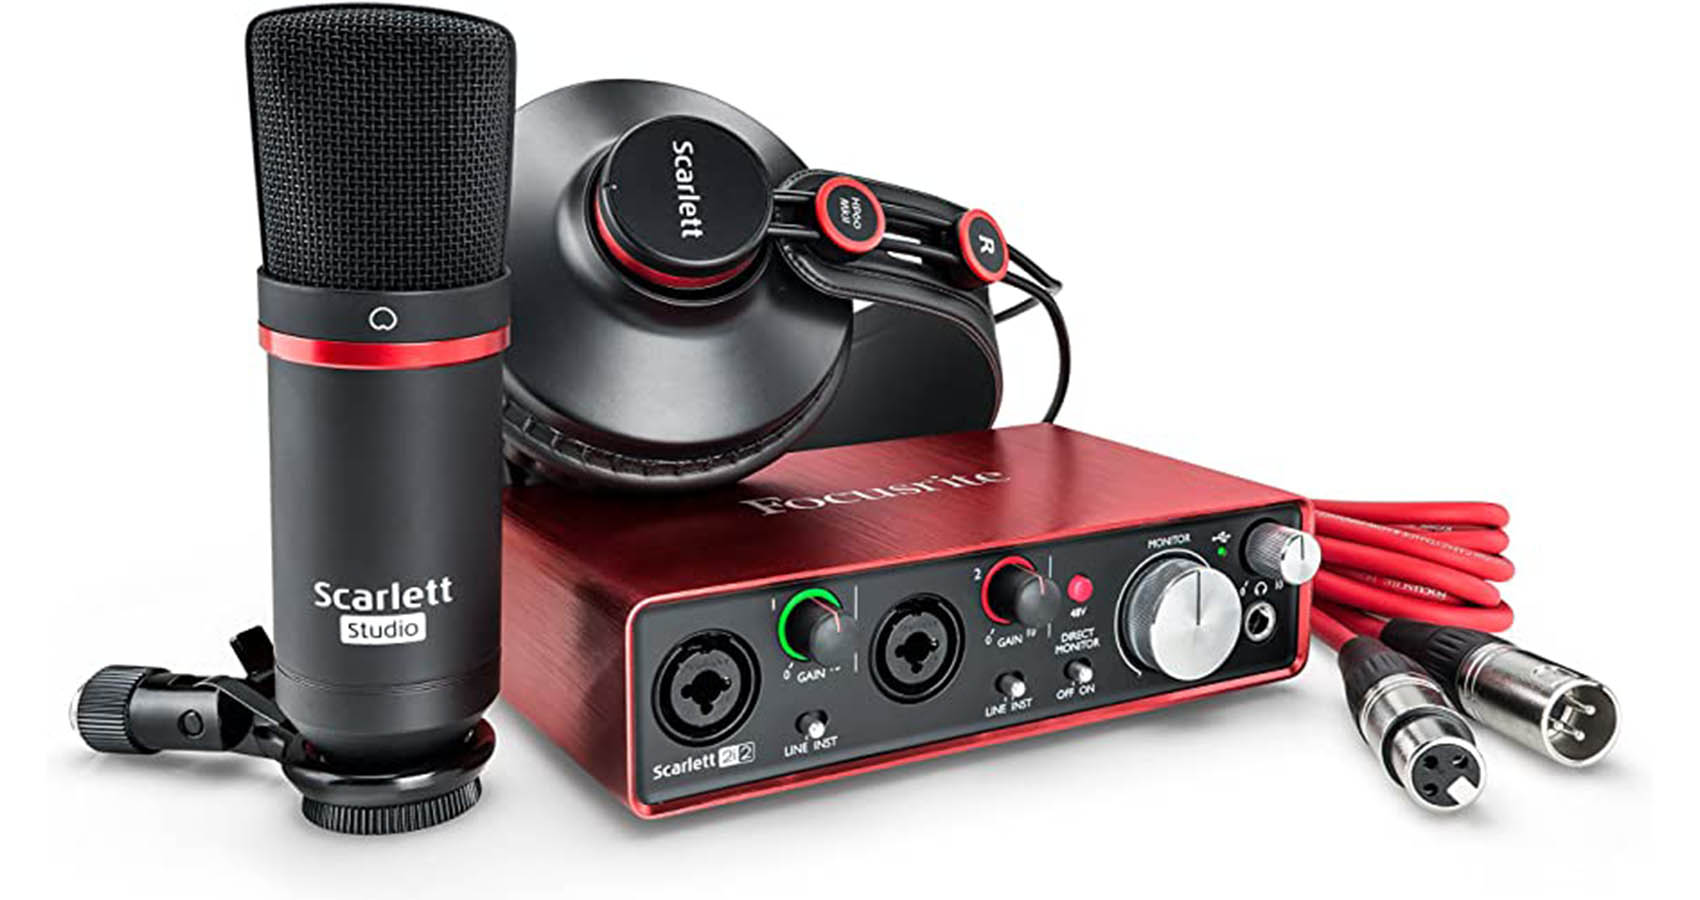
There are two popular packages on the market, for around the same price. The Scarlett Focusrite 2i2 Bundle 3rd-gen comes with a two-input audio interface, a condenser microphone, an XLR cable, and a pair of monitoring headphones.
On the other hand, the EVO Start Recording Bundle by Audient is almost identical to the Scarlett bundle. It offers pretty much the same goods but in a more minimalistic design.
Both bundles offer a lot of value for the price tag and can last you a long time before you need to upgrade to a more professional set of equipment. While the headphones in both bundles sound almost identical, the preamp on the EVO audio interface gives you a slightly more transparent sound. Both microphones sound decent for starters.
Final Thoughts On Getting Recording Equipment For GarageBand
Investing your money in the right tools can help you reach new heights in your music production journey. Thankfully, most popular brands you hear people talk about in the music scene offer dependable, high-quality products. Ultimately, personal preference and budget are two main factors when opting for recording equipment.
Besides a microphone, an audio interface, and monitoring headphones, leave some extra bucks for accessories, too. A microphone stand, spare cables, and adapters are some of the things you need on your list. If you’re using newer MacBooks and Mac desktops, you might need a USB-C dongle to connect your audio card to your computer.
There’s much more to music production equipment than just recording gear. If you want to create a fully-functioning studio, check out this list of essential tools you need for music production.
Like I said at the beginning, you could have the best equipment the world could offer. However, that doesn't mean you will create the worlds best song. The best song comes down to your creativity and love of the craft. I'd be happy to help you on your music journey. I suggest getting my 5 free steps to learning GarageBand faster.

